Help Article
LIMS / Samples - Material Specifications

Who can use this feature?
By default, Admin Users and System Administrators
Purpose
The Material Specifications page lets you define standards for different materials and reuse them in Configurable Forms and Reports. Each specification can include multiple variants, and each variant can hold several value rules (such as limits, tolerances, or sieve sizes).
Available actions:
- Manage existing material specs (edit, deactivate, copy, etc.)
- Add new material specs across your Lab test forms (LIMS / Samples > Test Forms)
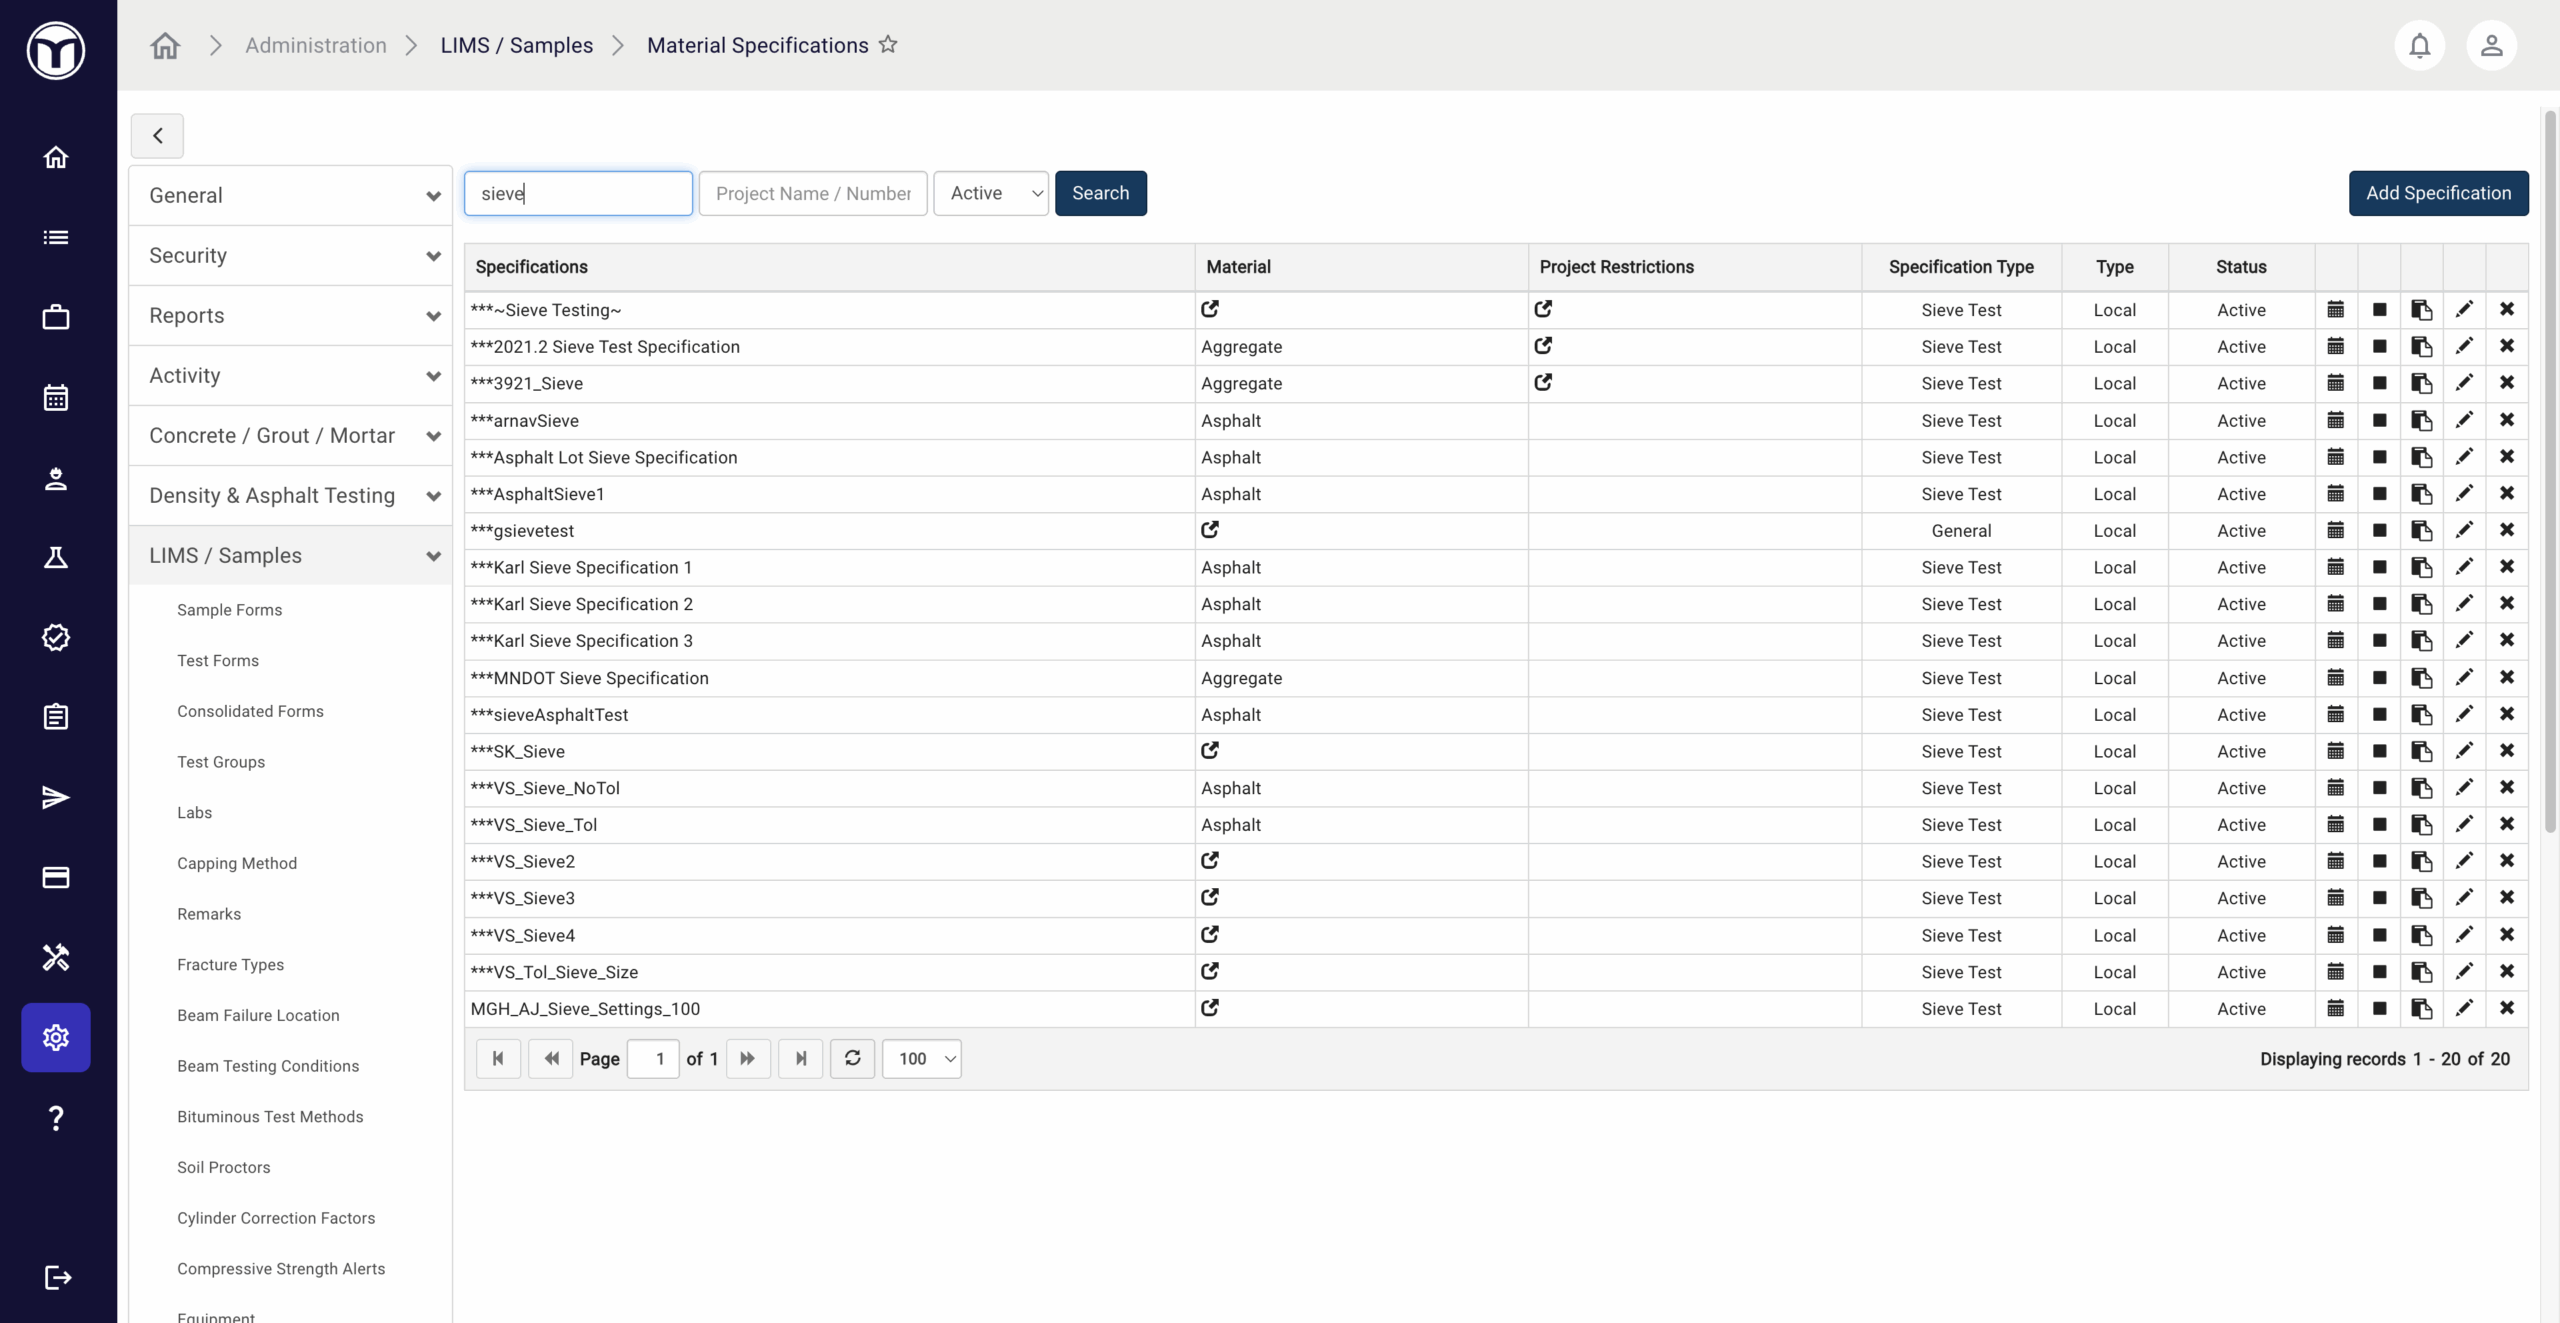
Managing Your Materials
Use filters at the top of the page to search for specifications by name, project, or status.
These icons allow you to quickly complete other actions for the selected material spec:
- History (🗓️): View history of the record (creator, creation date, etc.)
- Deactivate (◼️): Deactivate the record and remove it from the list
- Copy (📄): Copy the record
- Edit (✏️): Alter record info; press Save to confirm changes
- Delete (✖): Delete the material permanently

Adding Material Specs: What to Expect
1. Click Add Specification
- If the Material Spec has:
- No active records → The new specification is added to all test forms using that Material Specification.
- Active records → The specification is added only to new test forms going forward (not past forms).

2. Enter Specification Details
- Name – Name of the specification.
- Specification Type – The type of test it applies to (e.g., Sieve Test)
- Project Restricted – Toggle “Yes” to restrict the spec to a specific project
- Enable Tolerances – Toggle “Yes” to compare results against an expected range.
- Materials – Choose one or more material types.
- Specification Values – The parameter used to evaluate results.
⚠️ Note: You can only add multiple Material Specifications with Sieve Size type if they share at least one common material and the same Specification Value.

3. Add Variants
- Add and name Variants (you can add more later).
- All Variants share the same Specification Value.
- Use Reorder Variants to change display order.

4. Add Fields for Each Variant
- Press Add to enter sieve sizes, limits, and operators for each variant
- Input the Sieve Size, Expected Value, Tolerances, etc.
- Precision – Number of decimal places when comparing to limits.

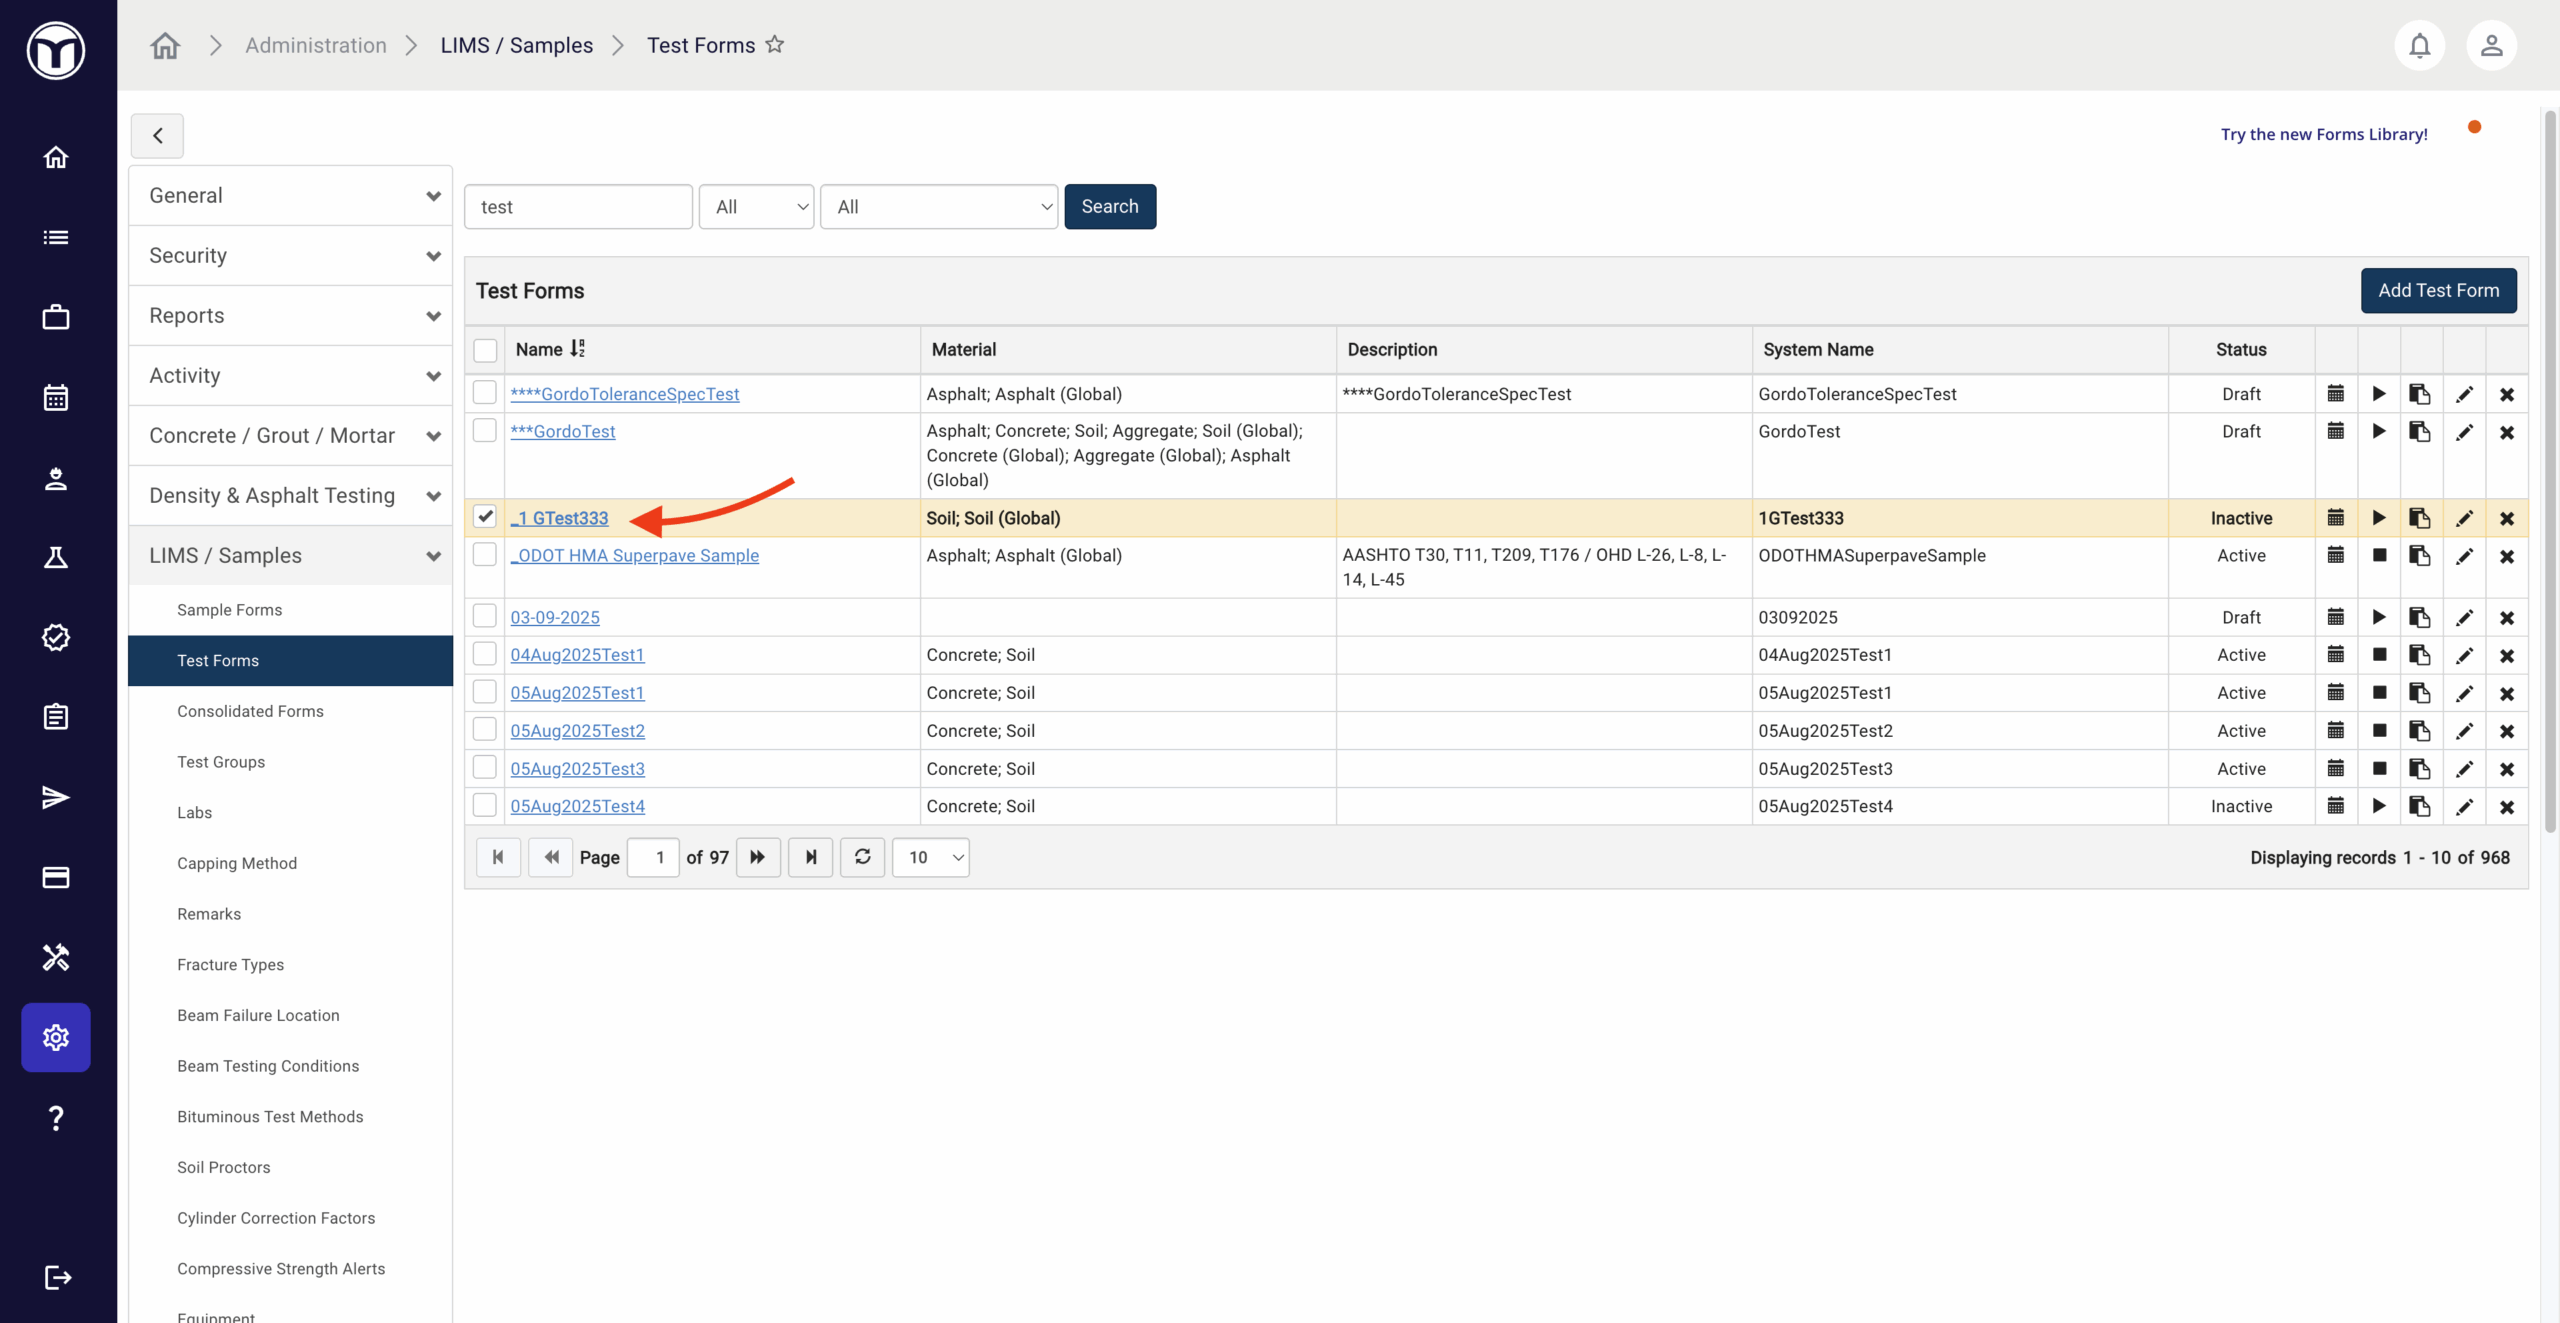
Setting Up a Form to Use Material Specifications
- Go to Admin → LIMS / Samples → Test Forms
- Click the name of your test form to open it in Form Designer
- Press the Form Settings button.
- Ensure the form includes at least one of the same Test Material types as the specification.
- If missing, click Edit, select the material type(s), and Save.
- Always select the (Global) version of the material type
- Click Add → choose Material Specifications → select your specification(s).
- Click Save on both the Material Specification screen and the Form Settings dialog.
If you don’t see your specification, check the Test Material setting or the materials tied to the specification.


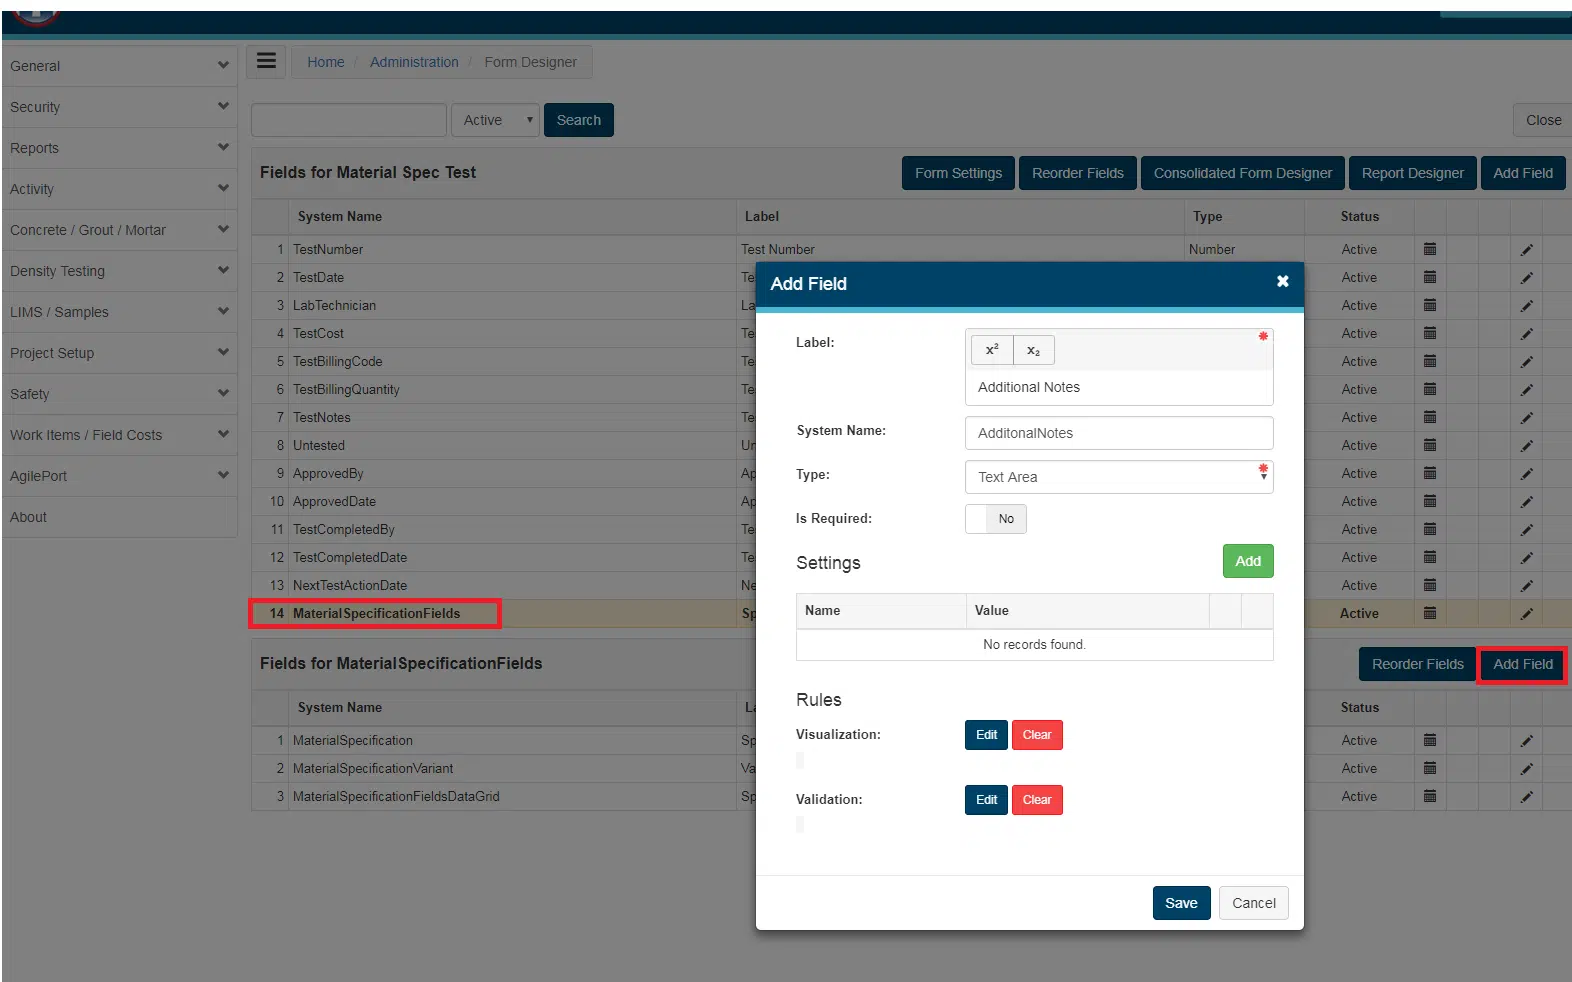
Viewing Specifications on the Form
Once you've successfully added Material Specifications to a form, you'll see the MaterialSpecificationFields record listed in the data grid. Another data grid will also be listed below the normal fields grid. This data grid contains the fields that will be used specifically for the Material Specifications section of the form. Additional fields can be added as needed.
Note: Fields added from a material spec cannot have settings applied to them, unless the Is System configuration is disabled.
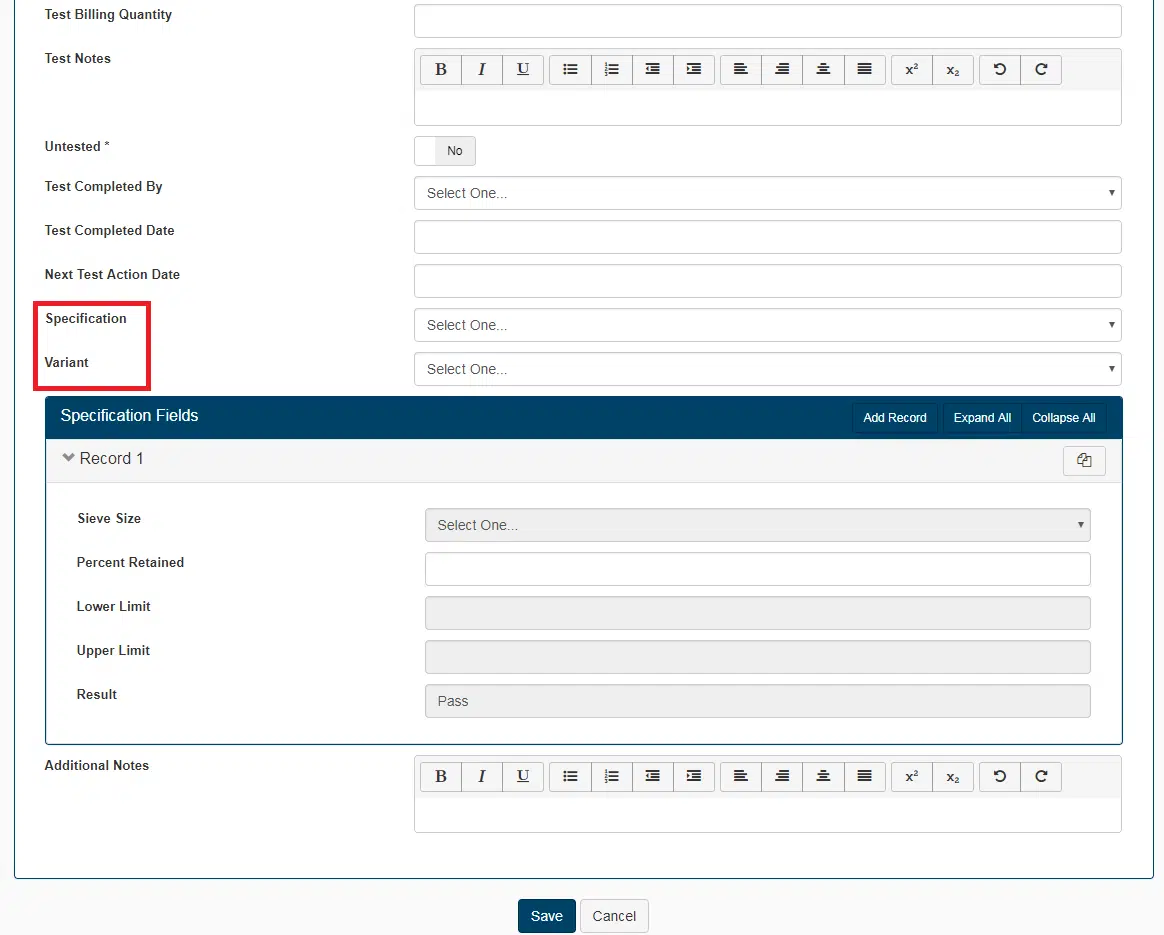
Entering Material Specifications on a Form
When on a form that uses Material Specifications, make sure to select your Specification and Variant values. This will load the proper fields and spec records onto the form.
Want to keep learning?
Click here for more how-to articles and MetaField guides. You can also access in-app guidance using the Help Desk!