Help Article
Specifications

Who can use this feature?
By default, Project module users
Purpose
From the Specifications page, you can manage spec values to each active project. These project-specific values will override the generic global settings in MetaField. In short, you can use this page to customize the specs for each individual project, from locations and costs to field instructions.
Note: project specifications can only be created for active projects (i.e., not inactive).

This article will help you learn how to set various specifications for your projects. Click the links below for more info on a certain spec:
- General Project Settings
- Addresses
- Locations
- Permits
- Documents
- Scheduling
- Field instructions
- LIMS
- Density Test
- Costs
- Concrete/Grout/Mortar
- Supplier/Mix Design
- Distribution
- Compressive Strength Alerts
- Reports/Labels
- Project Security
Adding Project Specs: What to Expect
- Enter the Specifications page and search for a project
- Press View Specifications
- Expand your side menu and click the spec type you want to add
- Edit and manage any available specifications
- Once finished making edits, press Save

Additional Tips & Features
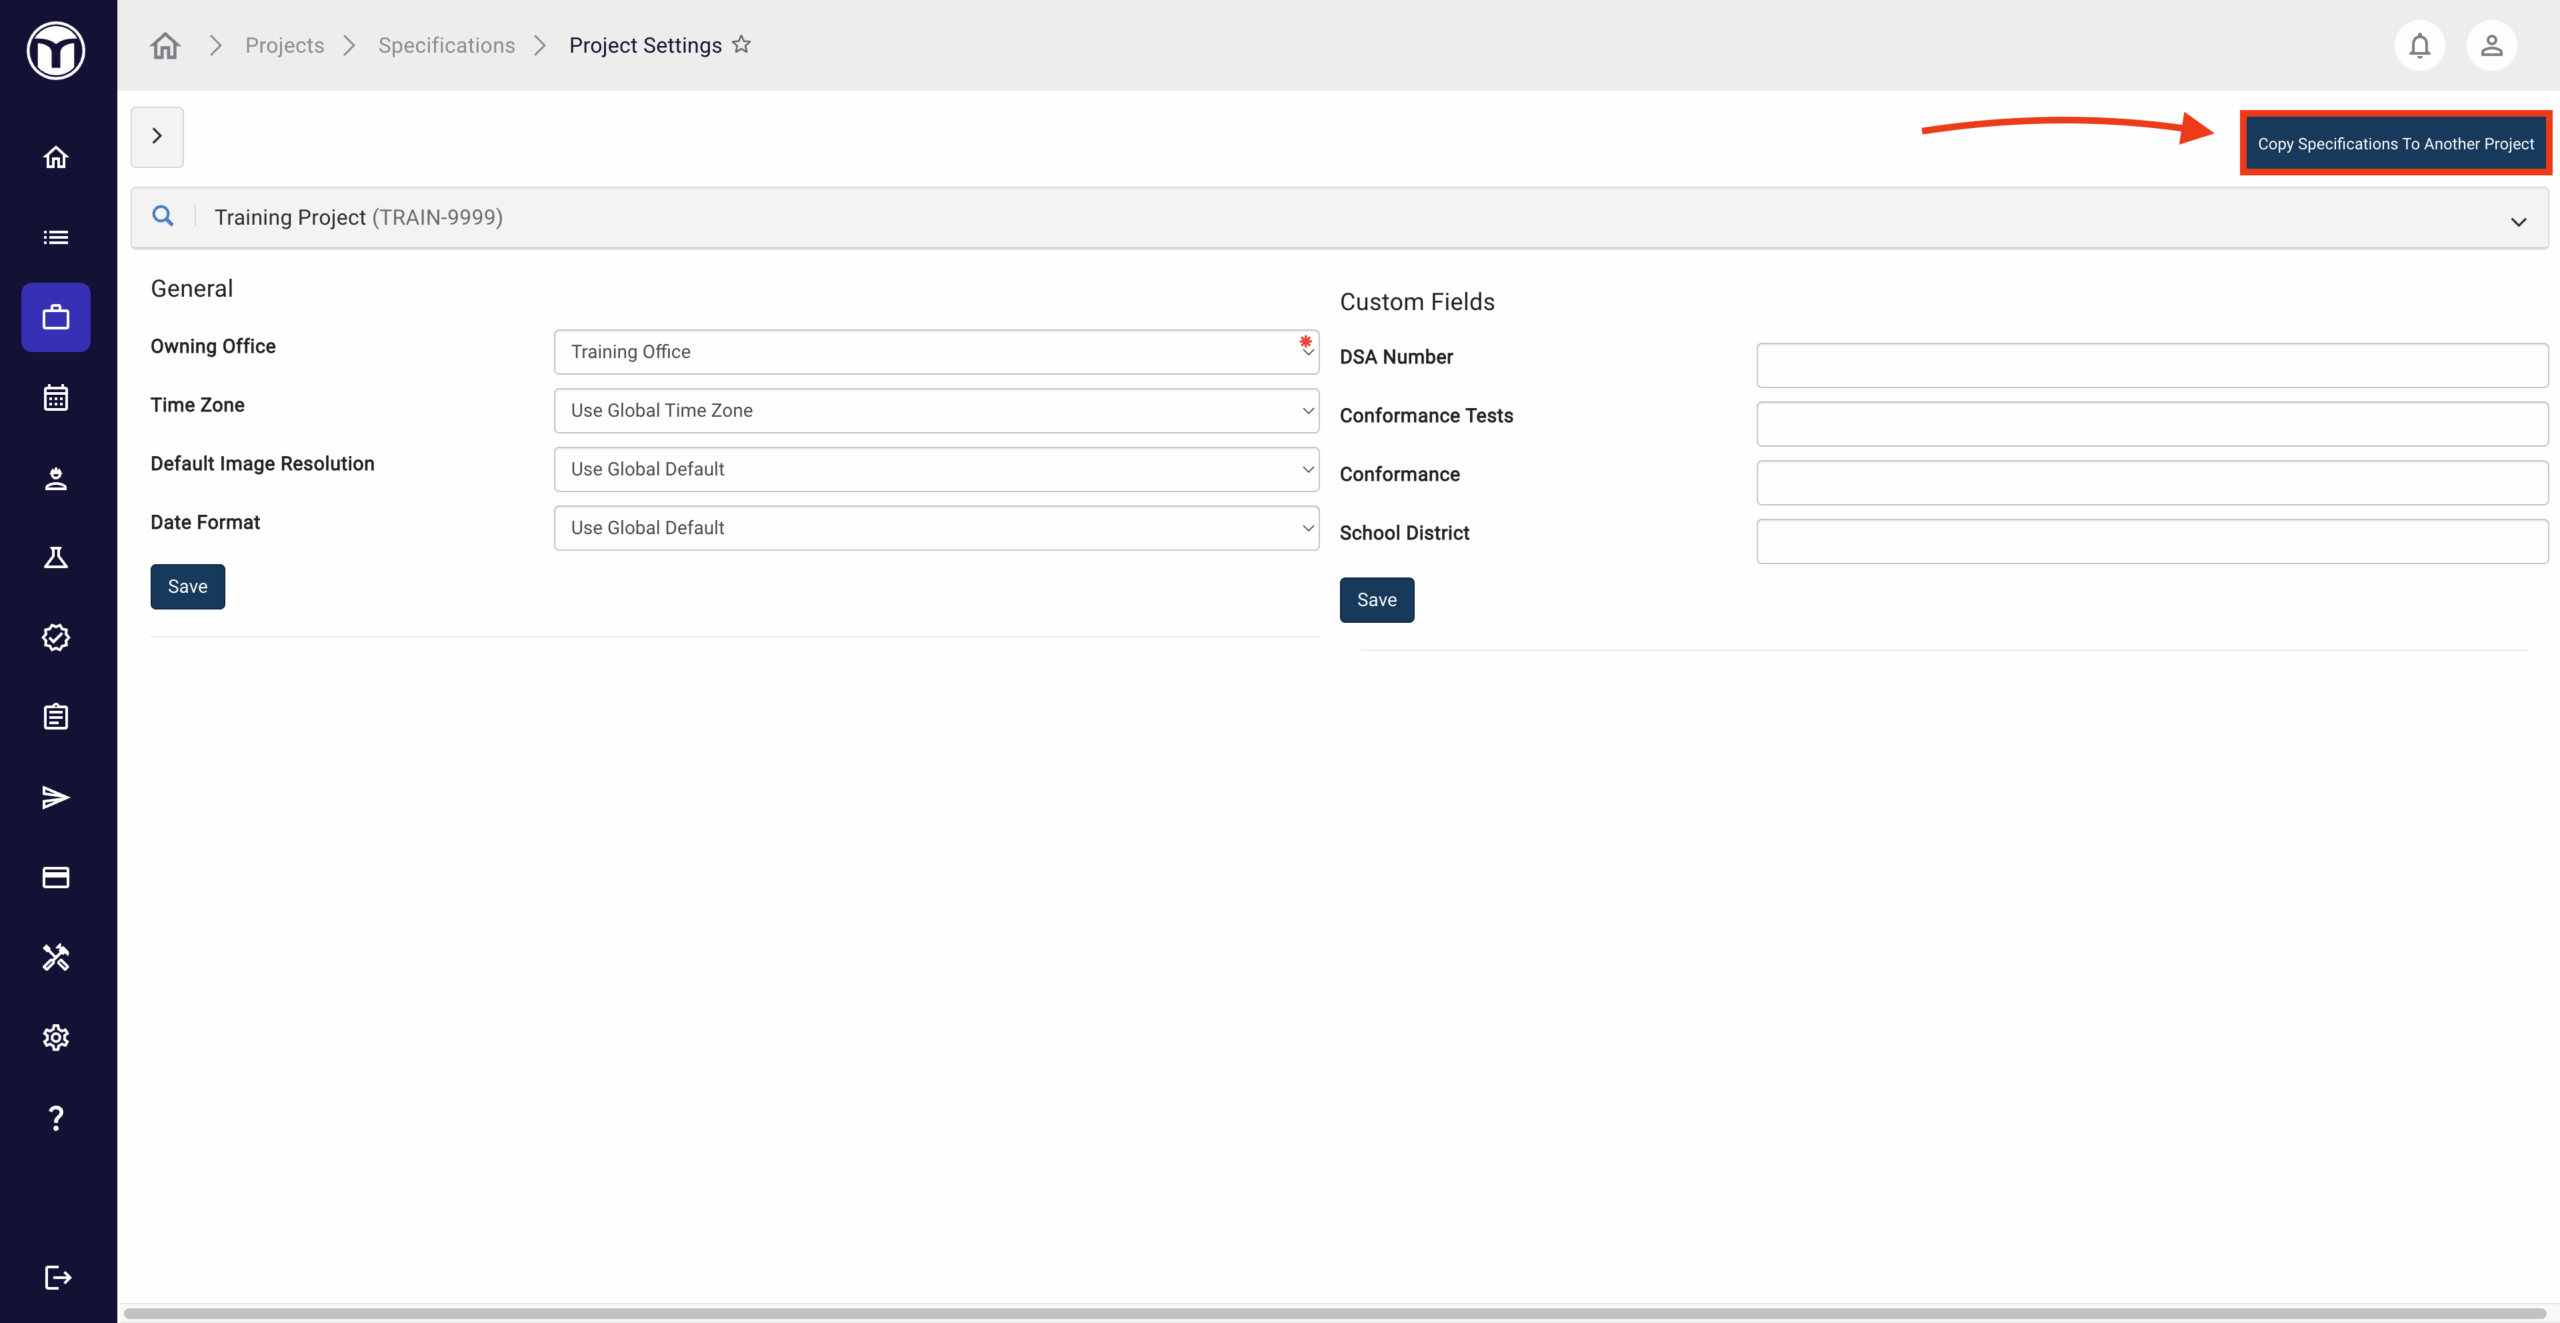
Use Copy Specifications To Another Project to transfer project specs to another of your choice. Simply search and select the project you’d like to copy to, then press Copy.
Use the Project Specification Audit from the project selection screen to create a data extract showing all specification counts. This can help you audit your MetaField projects for missing specifications. Once complete, the audit will send a .CSV file to whatever email address you provide.

Project Specifications by Type
-------------------------------------------
General Project Settings
Used to create general settings for your projects, including the following:
- Owning Office: The office location that owns / manages the project. Setting the Owning Office will default the defined office location when creating reports - regardless of who is creating a report. Owning office is used throughout the system in filtering (Dashboard, Scheduling, etc.)
- Time Zone: Time zone the project exists / operates in. Only needs to be set if the time zone is different than the global time zone defined. The time zone option "US Mountain Standard Time" does not account for daylight savings time and should be used for projects in Arizona where daylight savings time is not recognized.
- Default Image Resolution: Default resolution that is applied to images uploaded to forms for a specific project. Overrides the admin setting if specified. Default setting is "Use Global Default"
-------------------------------------------
Addresses
Allows you to input and manage specs for addresses. Client and Project addresses can be overridden at the project level. When overriding an address, the values entered in Project Administrations → Addresses will replace the addresses from the source system or from project setup when generating reports.
The values loaded into Client Address Override and Project Address Override can't be changed until the Edit button in the bottom left has been clicked. After adding the Override values, click the Save button in the lower left to confirm the changes.

-------------------------------------------
Locations
Allows users to enable a subset of global locations on a project, along with setting up project-specific locations to be used only on that project.
- Enable Global Location: Select this option will bring up a pop-up wherein you can select from a list of global locations. These locations are pulled from the General Locations menu within the Administration module.
- Add Location: Add locations that are specific to that particular project.
If project-specific locations are not defined, users are presented with a list of global locations as defined in the Administration module.
-------------------------------------------
Permits
Used to add permits, associated permits, and associated inspections, as well as set project jurisdiction. Start by pressing Add Permit and fill out the form. Once saved, permits can be clicked and selected to have associated permits and inspections tied to them.

-------------------------------------------
Documents
Used to upload project documents, which your field techs can reference in the Field module. Any files or URLS added here can be accessed in Field if the tech’s device supports the file type.
- Press Add Document Group to create a new group for your docs to live in. Any documents you add must be saved within a document group.
- Press the name of any existing document group to open it and see its associated docs.
- Press Add Documents to upload new doc files and links. You’ll enter a description, select which Field areas the doc can be accessed from, and upload or enter the document file/URL. Once finished, press Save to add the doc.
Use the following buttons to perform quick actions on each doc:
- Download file to your device (💾)
- Preview file (PDF/URL documents only) (🖼️)
- Edit the file (✏️)
- Delete the file (✖️)
-------------------------------------------
Scheduling
Used to add project-specific notes for schedulers and field technicians to reference as they interact with project work orders.
- Notes for Technician: Add notes that will display to field technicians when opening a work order in the Field module for specified project. Notes will also display to Schedulers when adding a work order for specified project
- Notes for Scheduler: Add notes that will display to Schedulers when adding a work order for specified project
-------------------------------------------
Field Instructions
Used to define field instructions for various areas and types of forms. Field techs will see these notes as an “instruction / reminder” when opening a form in that area of the Field module.
- Activity Field Instruction: Provides instructions for starting an Activity form in the Field module.
- Sampling Field Instruction: Provides instructions for starting a Sampling (DIY) form in the Field module.
- Safety Field Instruction: Provides instructions for starting a Safety form in the Field module.
- Concrete / Grout / Mortar Field Instruction: Provides instructions for starting a Concrete, Grout, or Mortar form in the Field module.
- Density Test Field Instruction: Provides instructions for starting a Density Test form in the Field module.
- Evaluation Field Instruction: Provides instructions for starting an Evaluation form in the Field module.
- General Field Instruction: Provides overarching project instructions in the Field module under Project Information.
-------------------------------------------
LIMS
Used to store global and test-specific test notes in Lab (LIMS). These notes will appear in the “Test Notes” field of each test to help provide lab techs with relevant info or reminders.
- Global Test Notes: Default internal notes for all tests on a project. Can be modified on individual test records.
- Project-Specific Tests & Notes: Custom LIMS test list and default internal notes for a specific project, with editable defaults.
- Project-Specific Specifications: Custom material specification list for a project, with filtering by specification name when adding.
-------------------------------------------
Density Test
Used to set density project and test specifications, including soil and bituminous density tests.
- Soil Density Test Specifications
- Location: Select one or more locations for these specifications. If none are selected, all unspecified locations will apply.
- Soil Classification: Choose applicable soil classifications. If none are selected, all unspecified classifications will apply. Multiple classifications can be added at once for faster data entry.
- Moisture Specification: If unchecked (YES in table), enter Lower/Upper % Moisture Tolerance in Field. If checked (NO in table), tolerance fields are hidden, and all moisture results will pass.
- Lower/Upper Moisture % Tolerance: Enter lower and upper moisture tolerance values.
- Require Maximum Specified Compaction: Check to require Specified Maximum Compaction values. Defaults to the global setting in Administration. Minimum/Maximum Specified Compaction (%): Enter minimum and maximum compaction values. These can be overridden in Field if needed.
- Moisture Requires Retest: Check to require retests for moisture results outside tolerance. If unchecked, failed moisture tests won’t prompt a retest. Defaults to TRUE for new specifications.
- Bituminous Density Test Specifications
- Maximum Specified Compaction (%): Enter the material's maximum compaction. Editable in Field. Leave blank to use global specs. If entered, minimum compaction must also be provided.
- Minimum Specified Compaction (%): Enter the material's minimum compaction. Editable in Field. Leave blank to use global specs. If entered, maximum compaction must also be provided.
- Material: Specify the material for these specifications. The material list is managed by your Business Administrator. This field is required.
- Required Retest: Check to require retests for tests outside the specified compaction range. If unchecked, failing Bituminous Nuclear Gauge Tests won’t prompt a retest.
- Require Maximum Specified Compaction: Check to require entry of maximum compaction values. Defaults to the global setting in Administration.
-------------------------------------------
Costs
Used to define project-level cost overrides, including lab test costs (e.g., Sample Tracking or C/G/M Test Costs) and field costs (e.g., Work Item Costs). Costs defined here will override global costs defined in Administration.
-------------------------------------------
Concrete/Grout/Mortar
Used to add and alter specifications related concrete/grout/mortar forms, including sample, specimen, and correction factor specs.
- Sample Specifications: Define strength, air, slump, and other specs for sample types, locations, and mix designs. Defaults are applied in Field based on pour location and mix design. Choose Imperial or Metric units. Filter location lists by selected General tab locations or view all by removing the filter.
- Location List: If you have set locations on the General tab of Project Specifications for this project, by default the list of locations will be filtered to only those chosen. If you want to see the list of all locations, you need to remove this filter.
- Specimen Specifications: Set default specimen settings by sample type and size. Use the Copy Global Specimen Specifications button to start from global settings. Add multiple specimens (e.g., 28-day cylinders) in one step. Defaults are applied in Field based on sample type and size but can be overridden by technicians with proper permissions.
- Correction Factors: Define default project-level correction factors. Use the “Copy Global Correction Factors” button to import global settings and avoid rebuilding from scratch.
-------------------------------------------
Supplier/Mix Design
Used to define approved mix designs for a project. These designs will pre-filter for field technician in the Field module. Technicians will have the option to override these pre-selections from Field. To define an approved mix design:
- Select a supplier from the top box. (You can search for a Supplier by entering a name in the search box.)
- Check the “Enable” check box for the mix designs you would like to enable for the project.
-------------------------------------------
Distribution
Used to define which project contacts can receive emailed reports or view them in AgilePort. You can also define delivery notes, which are displayed when users are in the Delivery module for that project.
- Default From Email Address: Set the default email address for the From field when generating project reports. This can be changed during report generation. If specified, this field overrides the global default in Administration.
- Non-Field Default Email Subject: Set a default email subject for reports emailed from non-Field modules. Use placeholder variables for system-generated values. Overrides the global email subject.
- Field Default Email Subject: Set a default email subject for reports emailed from the Field module. Use placeholder variables for system-generated values. Overrides the global email subject.
- Delivery Notes: Record instructions or reminders for users distributing reports in the Delivery module. Notes display when the project is selected.
- Report Recipients: Click “Add Recipient” to add contacts to the distribution list. Search by email, first name, or last name. For collaborators, client contacts, or AgilePort users, select from the list to auto-fill details. For new recipients, manually enter their details. Set Email Access or AgilePort Access to define report access.
-------------------------------------------
Compressive Strength Alerts
Used to define low break alerts/rules at the project level. Rules configured here will override rules defined in the Administration module.
- Users have the option to search and filter by sample type or test age.
- Press “Add Alert” to configure a new compressive strength alert.
- Press “Copy Global Alerts” based on default values.
-------------------------------------------
Reports/Labels
Used to control several project-specific settings related to reports.
- Report Settings let you control the following for various report types:
- Description: Project-specific report description generated when that report is created (placeholder variables can be used)
- Digital Signature: Project-specific digital signature configuration
- Enable Field Signature On Field Report: Allows for a field signature (somebody "signs off") on reports generated in the Field module
- File Name: Project-specific file name generated when a report is created (placeholder variables can be used)
eport Labels let you define project-specific labels to tag reports with relevant details, such as project areas or lot numbers. These labels are available alongside global labels when creating reports for that project.
-------------------------------------------
Project Security
Used to limit user access to a specific project. For confidential projects, additional security settings can restrict access to only authorized users. Only project managers and users with security management rights can modify these settings.
- Adding Confidential Projects
- To mark a project as confidential to limit user access, select Edit and check the Confidential Project box.
- To add users to a confidential project, type their names into the “Users to Add” field and select “Add Users”. Multiple users can be added at once.
- Users will appear in the Users Allowed Access grid, and access can be removed by clicking the "X".
- To remove confidentiality, uncheck the Confidential Project box. This will restore access to all users.
- Allowing Data Entry for All Users
- Some confidential projects allow anyone to log Activity or Safety data, even if they’re not on the authorized list.
- Use the Allow Data Entry setting to let any user enter data. They can view only their entries, while authorized users can view all records.
- Scheduling Work Orders on a Confidential Project
- Users in the Scheduling module can still create and modify work orders for confidential projects.
- If this scheduler is not on the Users Allowed Access list, they won’t see form/test data.
Want to keep learning?
Click here for more how-to articles and MetaField guides. You can also access in-app guidance using the Help Desk!