Help Article
MetaField Invoicing

Overview
MetaField's Invoice module allows you to:
- Review billing events logged in MetaField
- Create and distribute invoices
- Track your project budgets
This article will give you an overview of how to access, create, and deliver invoices for your projects in MetaField.
Accessing Your Project Invoices
Use the left nav to select Bill. This will take you to the Bill page, where you can search or select recent projects to access their Invoices and Project Rates.
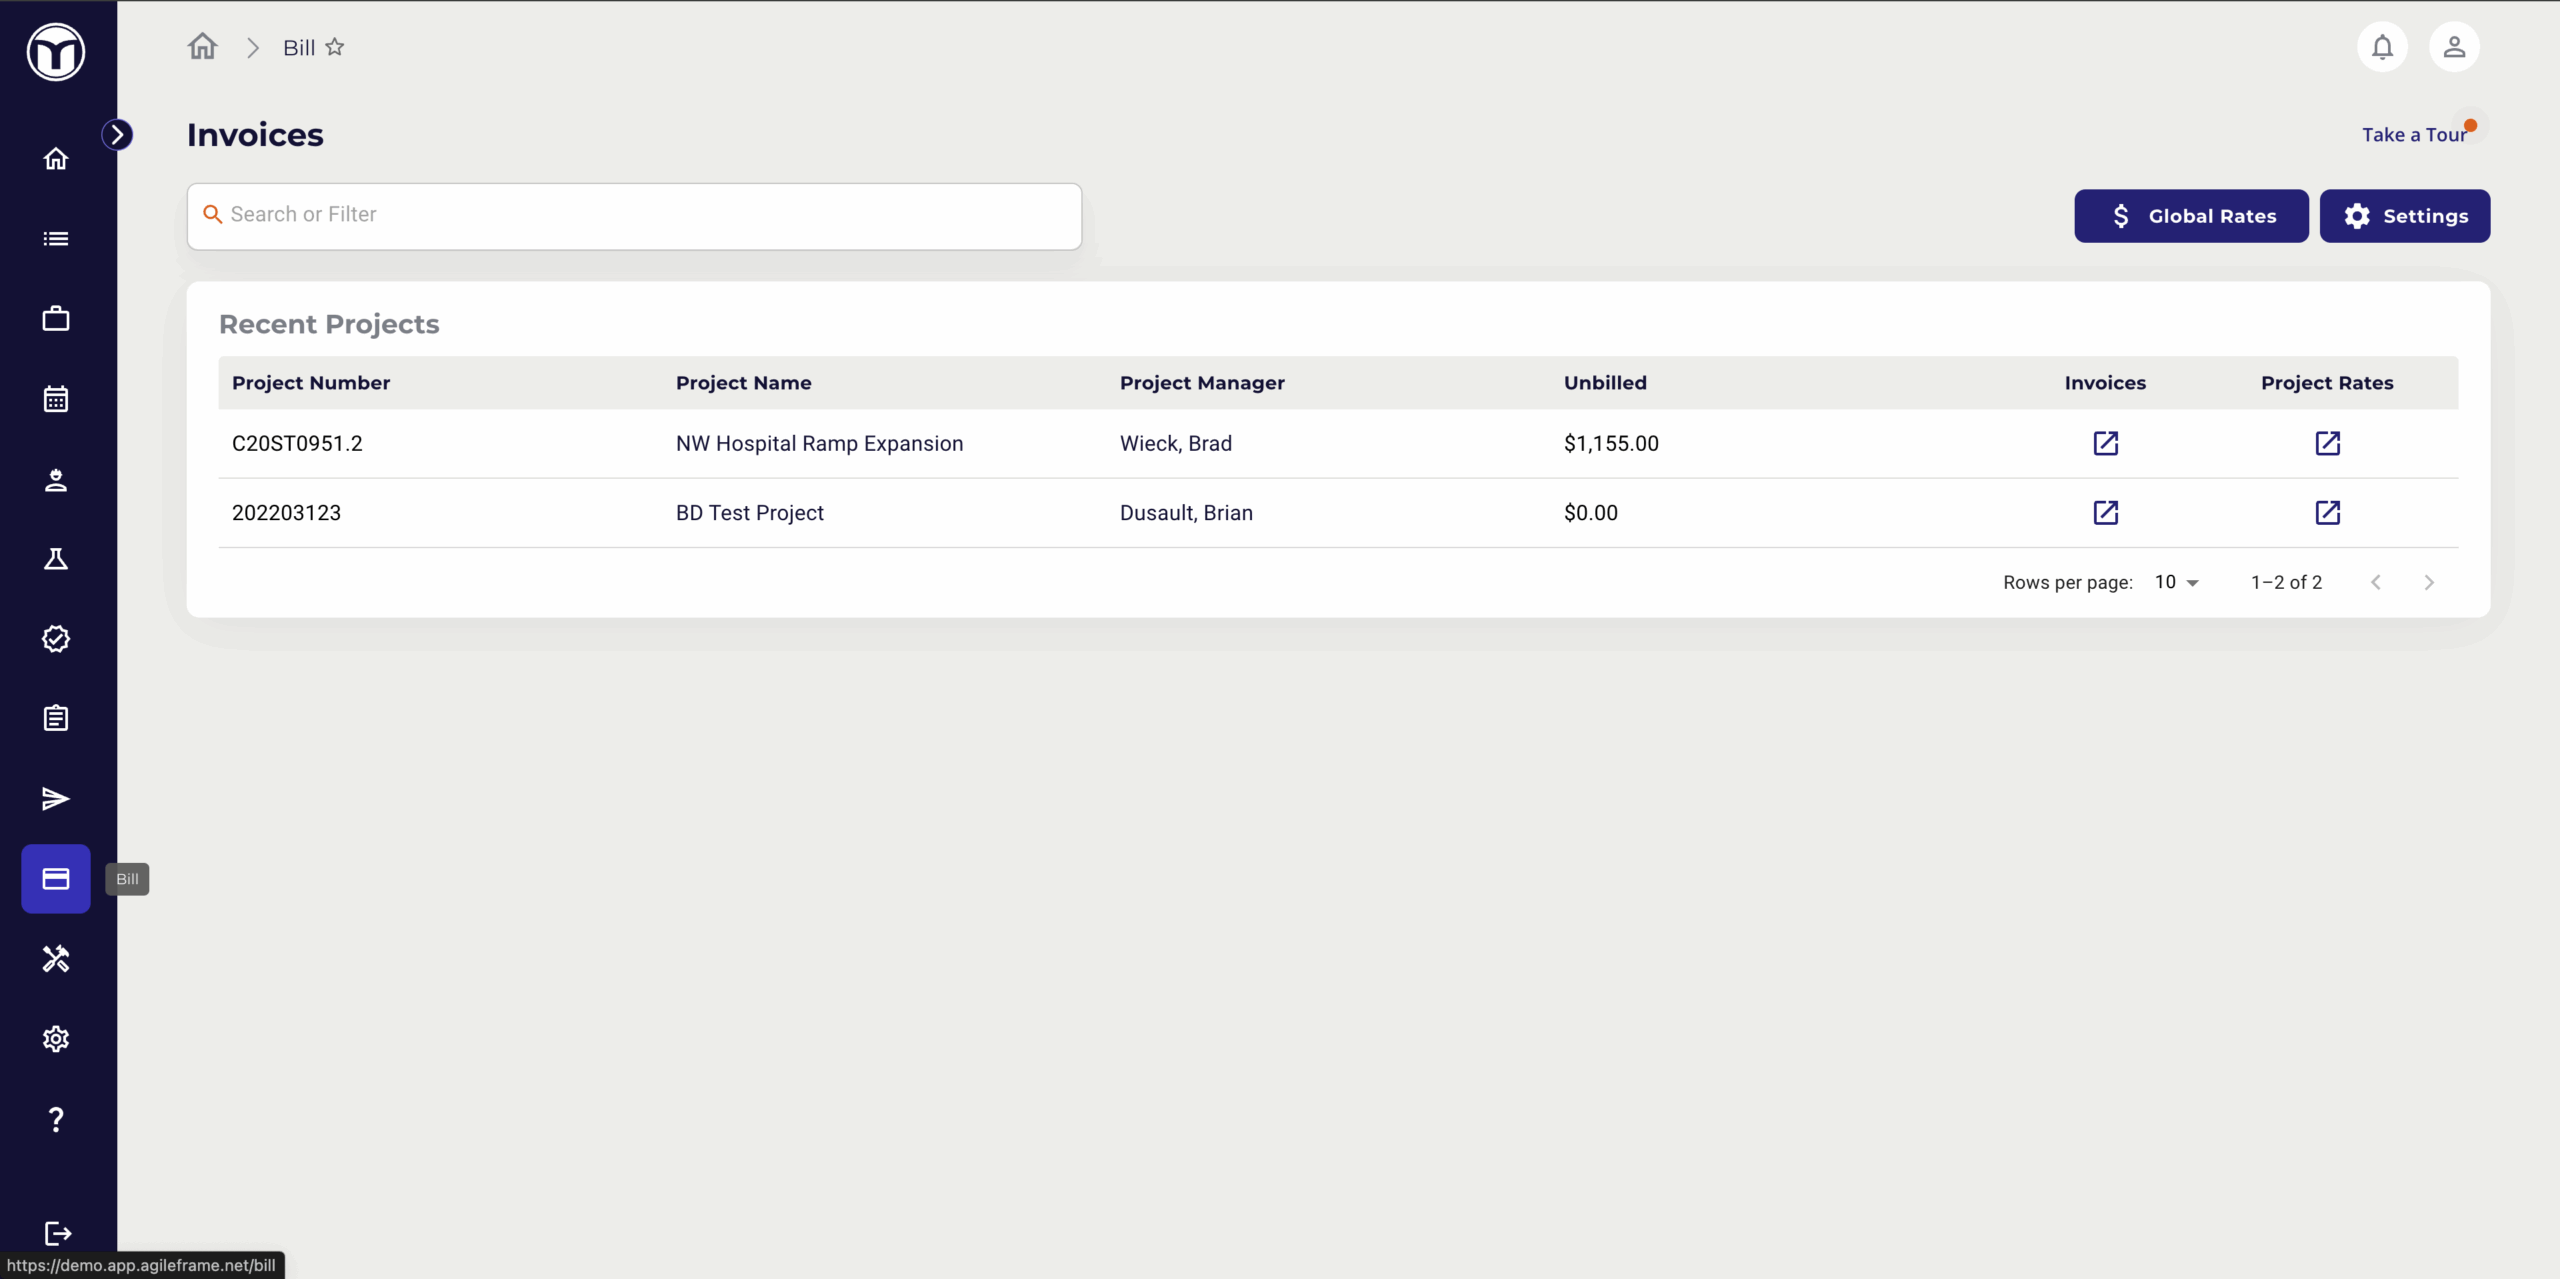
Press the link below the Invoices column to open all recorded invoices for the project. If you need more information on adjusting Project Rates, please see the article on Global & Project Billing Rates.
Project Invoices Page

Each project has an Invoices Page, where you can create and manage its invoices. These pages are split into a few key tiles:
- Project Budget: Shows the total budget for your project. It also breaks that budget down by the amounts Invoiced, Unbilled, and Remaining.
- History: Lists the latest invoices you've drafted or sent for the project, with quick links to review or edit those invoices
- Contact Information: Lets you quickly reference the contact info of the Project Manager and Billing Contact
Use the search bar beneath these tiles to filter your Billing Transactions or Project Invoices.
Adding Billing Transactions

- Step 1. Press Add Transaction
- A blank row will appear at the top of the table for you to fill out. Work items, Cost Type, and Units have pre-identified options to select.
- Step 2. Confirm all details are correct, then press the Save icon (💾).
- The new row will be added and available for editing. To edit a row, select the Edit icon (✏️). To delete a row, select the Delete icon (🗑️).
Creating an Invoice
- Step 1. Press Create Invoice from the Project Invoices Page

- Step 2. Complete the Invoice Form
- Enter your Billing Contact, Project Information, and Invoice Information
- Press + New Work Items Table
- Select/check required billing transactions
- If needed, add new records with the Add Transaction button
- Press Add Selected to New Invoice to add all selected records to your invoice
- You cannot select billing transactions that are already in an invoice - or in the current draft invoice.

- Step 3. Adjust Table Settings
- Press Table Setting to edit the table name and select which columns should be displayed on the work item table
- Once finished, press Save to confirm your table settings

- Step 4. Press Save to complete your invoice
- Note: Invoice numbers are generated after you save the invoice for the first time. The first two numbers indicate the client ID within MetaField.

- Step 5. Preview & Send Your Invoice
- Press the Preview & Send Invoice button to open the Preview window
- Review the preview and, if needed, press Keep Editing to make adjustments
- Press Send to begin delivering the invoice
- Enter your email details and/or download the invoice as a PDF
- Once finished, press Send again to send your email!


Want to keep learning?
Click here for more how-to articles and MetaField guides. You can also access in-app guidance using the Help Desk!